Art. 072
$300.00
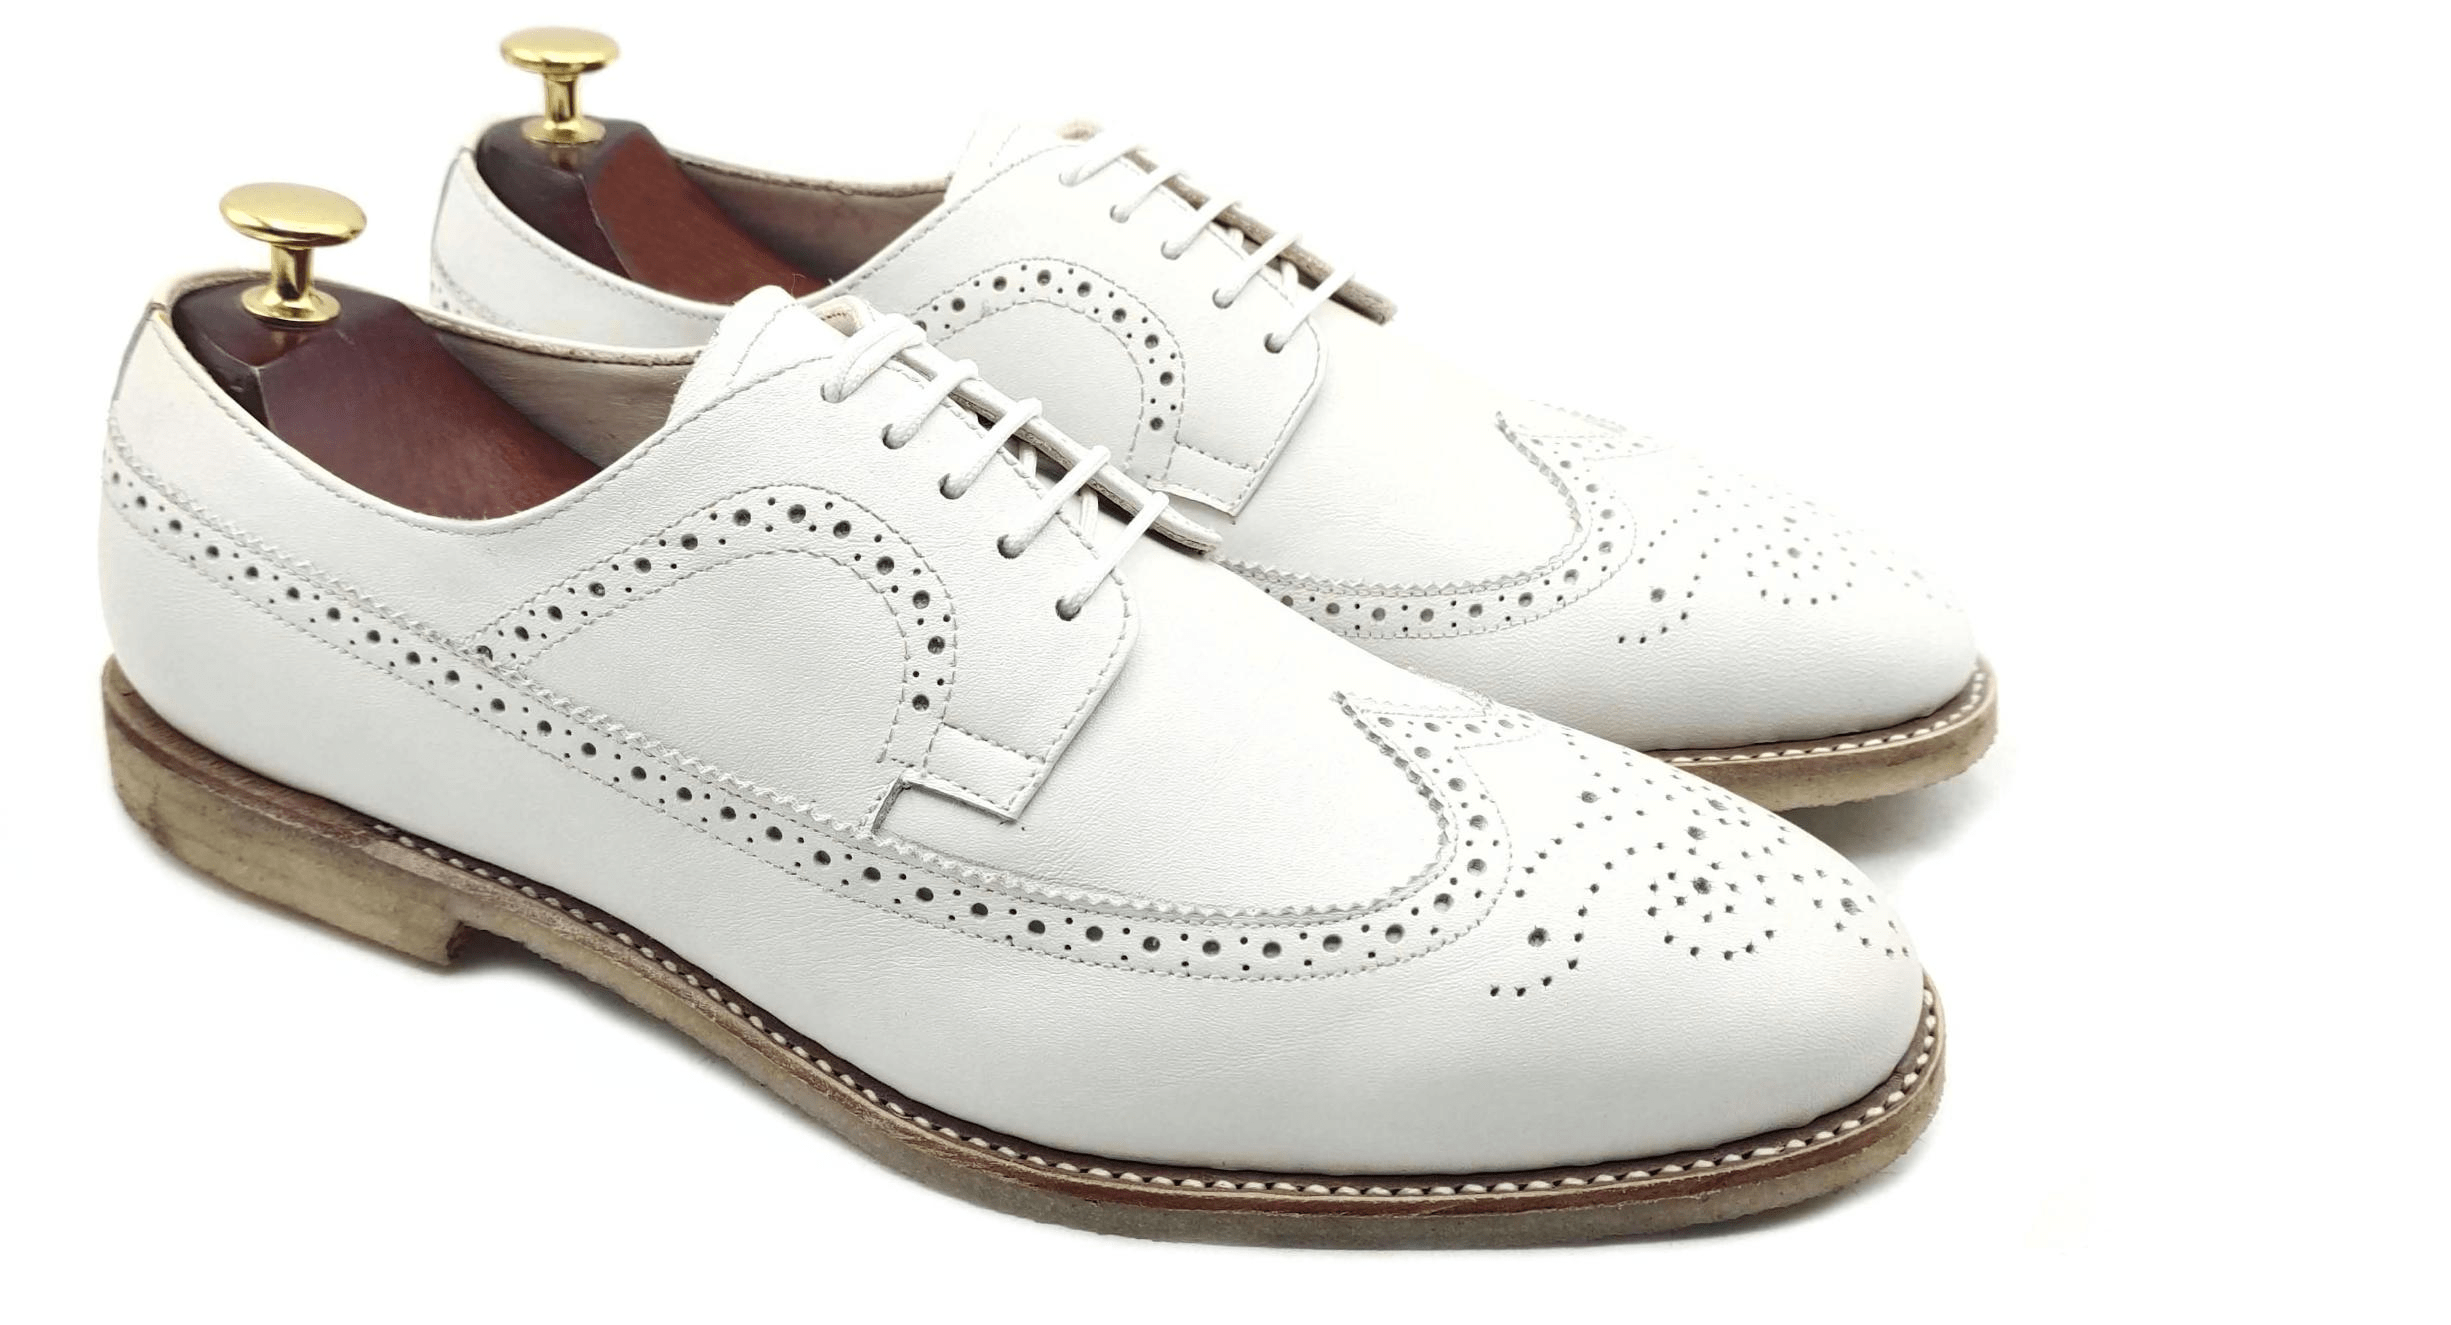
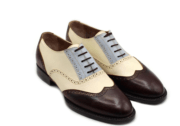
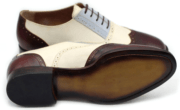
Oxford Wingtip Lace Up
Construction: Goodyear welt
Color:White
Material:100% leather
How to measure foot for perfect fit & finish:
Option#1 (Manual measurement)
These guidelines will lead you through the process of measuring your feet to ensure the best fit when your shoes are being crafted. You can perform this task anywhere, and there's no need to schedule an appointment with me to complete it.
For this procedure, you'll require a pen or pencil, a sheet of 8.5”x11” paper, a flexible measuring tape, and a friend to assist you.
To begin, take a sheet of 8.5”x11” paper (this size is crucial as you'll need to scan and attach it in an email to us) and have a friend with a pen or pencil ready. Position the paper so that your entire right foot fits on it without extending beyond the edges. This may require aligning your foot from one corner to the opposite corner on the paper. Once your foot is correctly positioned, stand naturally without leaning more on one side than the other. Stand upright. Then, ask your friend to outline your foot with the pen, ensuring they hold it perpendicular to the floor while drawing. Avoid tilting the pen in any direction. Your foot may appear larger when outlined. This is an accurate representation of your foot.
Note: It's crucial to wear the type of socks you usually wear with the shoes you're purchasing. Rolling up your pants is also advisable to prevent interference with the outlining process.
Repeat the same procedure with your other foot, using the same sheet of paper, but align it with the opposite corners. Once both feet are traced, your paper should resemble this:
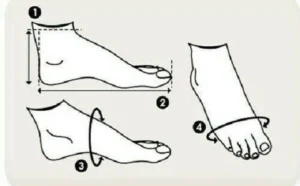
Next, take four measurements around each foot, totaling eight measurements. Sit in a chair and cross one leg over the other to allow your foot to relax. Do not remove your socks; it's normal for one foot to be different from the other. Don't worry if that's the case. When using the measuring tape, avoid pulling it tightly; just ensure there is no slack. Remember, the goal is for the shoes to fit your foot comfortably, not constrict it.
- Measure the Ball: This involves measuring the circumference around the ball area of your foot. Locate the joints of your smallest and biggest toes, usually the widest part of your feet. Gently wrap the flexible measuring tape around your foot over these two joints. The measurement in inches represents the measurement of the ball. Record it to the nearest 1/8" since feet often require fractions when measuring.
- Measure the Waist: The waist is the circumference of your foot just past the ball. Wrap the tape around the waist to determine your measurement.
- Measure the Instep: The instep measurement is around the middle of the arch. Wrap the tape around this area to find your measurement.
- Measure the Heel: Measure from the corner of the heel around the joint of the leg and foot.
Now that you have your measurements, please scan and email them to us. Make sure to mention that you are sending measurements when placing your order. Enjoy tracing !!
Here is the video instruction:
Option#2 (Using 3D Scan)
Creating a complete procedure for 3D scanning your feet using an iPhone camera and extracting an STL file involves a combination of hardware, software, and some manual steps. Keep in mind that as of our last knowledge update in January 2022, there might be new apps or technologies available, so please check for the latest developments. Here is a general procedure:
Hardware:
- iPhone with a capable camera (preferably newer models for better results).
- A stable platform to place your feet on during scanning.
Software:
- Download a 3D scanning app from the App Store. Apps like 3D Scanner App, Trnio, or 3DsizeME are examples (make sure to check the latest apps as new ones may be available).
Procedure:
- Preparation: a. Wear socks on feet and ensure good lighting in the scanning area. b. Set up the stable platform where you'll place your feet.
- Install the 3D Scanning App: a. Download and install a 3D scanning app from the App Store.
- Open the App and Set Parameters: a. Launch the app on your iPhone. b. Follow the on-screen instructions to set parameters like scan resolution and quality.
- Position Your Feet: a. Place your feet on the stable platform.
- Capture Scans: a. Use the app to start capturing scans. Follow the instructions provided by the app. b. Move the camera around your feet to capture different angles.
- Review and Retake if Necessary: a. Review the captured scans within the app. b. If some areas are not well captured, consider retaking those scans.
- Process Scans: a. Once satisfied with the scans, process them within the app. b. Some apps might have an automatic processing feature, while others may require manual adjustment.
- Export as STL: a. Look for an option to export or save the 3D model within the app. b. Choose STL as the file format to upload on our website and we will take care the rest. Our specialized team of CAD designers will extract the required measurement to form a perfect fit shoe.
Remember that the success of the scanning process depends on various factors such as lighting conditions, app capabilities, and the quality of your iPhone camera. It may take some trial and error to achieve the desired results.
Here is an example video:
Description
Premium quality full grain leather hand crafted shoes
Upper made with full tanned calf skin with soft goat skin lining
Inner of quality shank board
Hand stitched good year welted soles with bead around the soles to make them waterproof
Heels made with stacked layers of real leather
Heel tip full rubber
Related products
- Add to cart
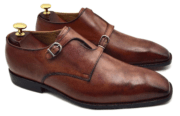
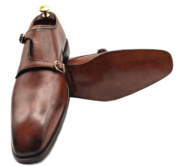
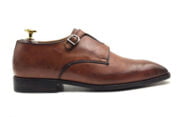
- Monk Straps, Shoes
Art. 006
- $300.00




Reviews
There are no reviews yet.